
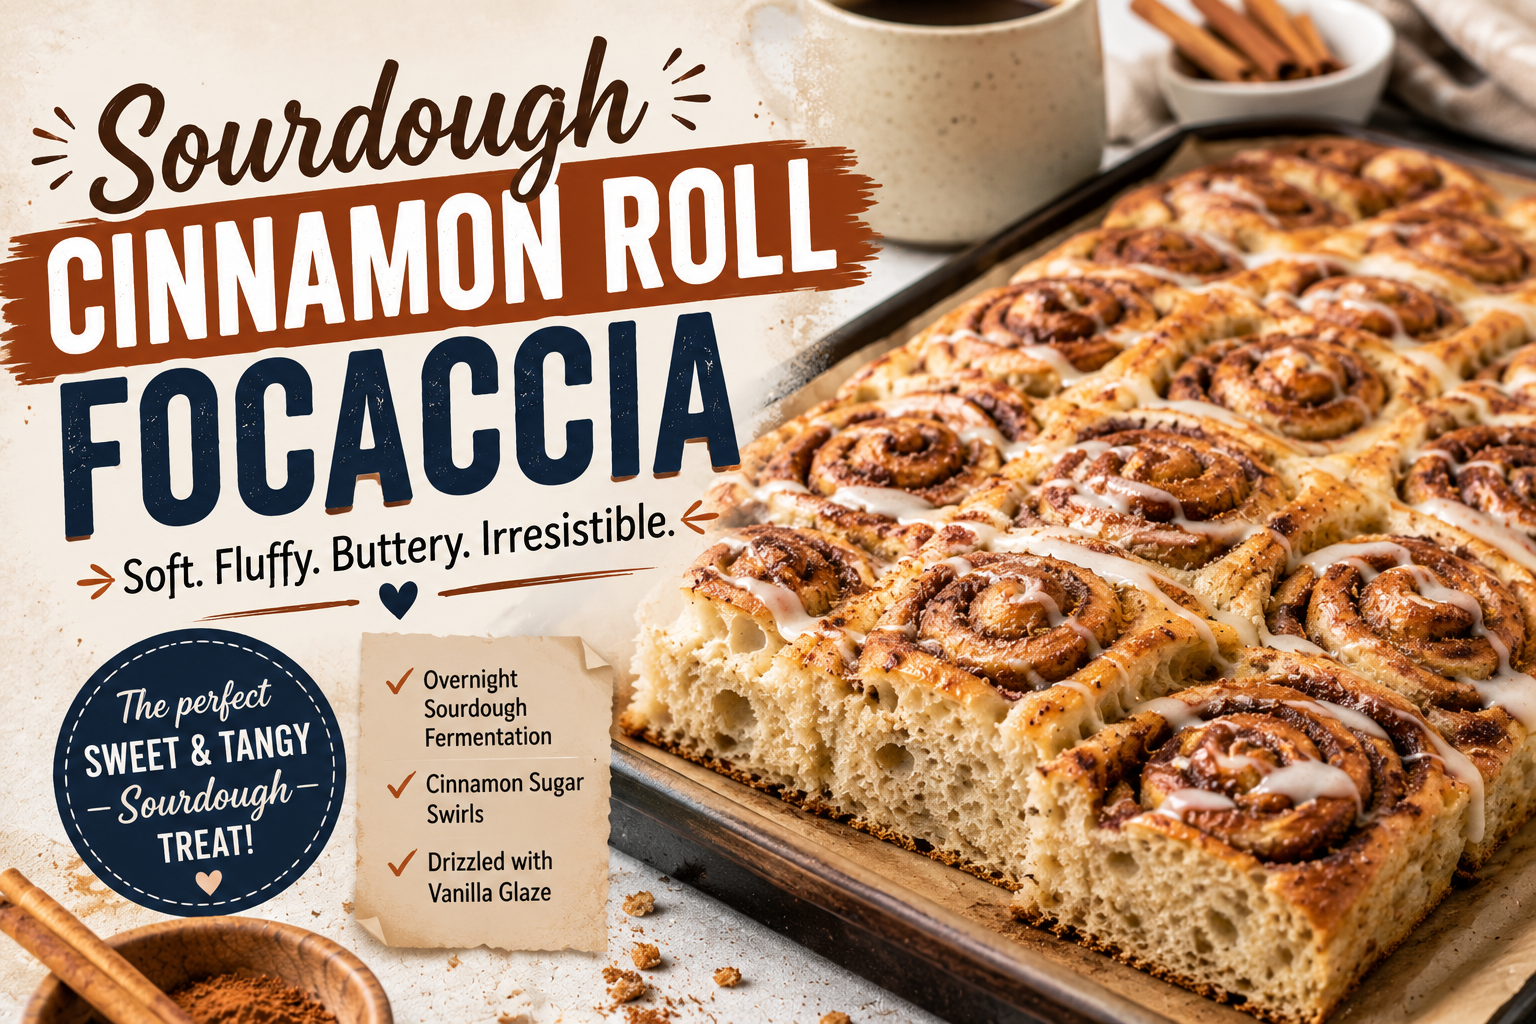
Picture a warm pan pulled straight from the oven. The cinnamon sugar topping is bubbling at the edges and caramelizing into something deeply golden. The dough beneath is pillow-soft with a faint tang from the sourdough. A ribbon of vanilla glaze is drizzled across the top and pools into every dimple and swirl.
That is Sourdough Cinnamon Roll Focaccia — and it is the recipe that quietly broke the internet, accumulated tens of thousands of shares, and converted an entire generation of hesitant sourdough bakers into devoted ones.
It has all the flavour of a proper cinnamon roll. It takes a fraction of the effort. No rolling, no shaping, no individual pieces to cut and proof and worry about. Just a high-hydration sourdough dough pressed into a pan, topped with the most indulgent cinnamon butter sauce imaginable, and baked until golden and irresistible.
This is the recipe. Beginner-friendly, same-day, no commercial yeast. Anyone can make it.
What Exactly Is Sourdough Cinnamon Roll Focaccia?
Focaccia is traditionally an Italian flatbread — dimpled, olive oil-soaked, and deeply savoury. But the focaccia technique — high-hydration dough, minimal shaping, baked flat in a pan — turns out to be equally brilliant for sweet applications.
This recipe takes the classic focaccia method and replaces the olive oil and rosemary with brown sugar, butter, cinnamon, and vanilla. The result is a sweet, fluffy flatbread with the pillowy crumb of the best focaccia and the warm, caramelized flavour of a freshly baked cinnamon roll. Drizzled with a simple vanilla glaze, it lands somewhere between bread and dessert and somehow feels like neither, and both, at the same time.
The sourdough starter is the only leavening agent. No instant yeast, no commercial yeast packets. Just a well-fed, active starter doing exactly what sourdough has done for thousands of years.
Why This Recipe Works for Beginners
Most sourdough recipes carry an implicit warning: this is not easy, this will take practice, please manage your expectations. This recipe carries no such warning. It is genuinely accessible to anyone with an active sourdough starter and a free Saturday afternoon.
Here is why it works so well for beginners:
There is only one set of stretch and folds during bulk fermentation. No lamination, no coil folds, no complex shaping sequences. One set, performed once, and then the dough is left alone to do its work.
The dough goes directly into a greased baking pan after its bulk ferment. There is no shaping at all in the traditional sense — no boule, no batard, no seam placement. The pan does all the containment work.
The recipe uses a generous quantity of active starter — 200 grams — which means fermentation moves faster and more reliably than recipes using a smaller percentage of starter. This is especially helpful for beginners whose starters may still be developing strength.
And the whole thing can be completed in a single day, from feeding the starter in the morning to pulling a golden pan from the oven in the late afternoon.
Sample Same-Day Baking Schedule
The most useful thing about this recipe is how it fits into a real day. Here is the sample schedule:
7:30 AM — Feed sourdough starter. Place in a warm spot and let rise for 4 hours until bubbly and active.
11:30 AM — Mix the dough. Let rest for 30 minutes covered with a damp kitchen towel.
12:00 PM — Perform one set of stretch and folds. Transfer dough to a greased bowl. Cover and place in the oven with the light on.
12:00 PM to 3:00 PM — Bulk fermentation. Check periodically. Dough should grow by 50 to 75 percent and pass the poke test.
3:00 PM — Transfer dough to greased 9×13 glass baking dish. Perform second set of stretch and folds. Cover and return to oven with light on for 1 hour second proof.
4:00 PM — Remove pan from oven. Preheat oven to 425°F. Make cinnamon roll topping.
4:30 PM — Dimple the dough, pour topping over the surface, bake for 25 to 30 minutes.
5:00 PM — Mix glaze, drizzle over slightly cooled focaccia, slice and serve.
Ingredients
For the Sourdough Focaccia Dough (Serves 12)
- 200g active sourdough starter — fed within the last 4 to 6 hours, bubbly and at peak
- 400g warm water — between 100°F and 110°F
- 10g salt — approximately 1½ teaspoons
- 510g unbleached all-purpose flour — approximately 3½ cups
- Cooking spray — avocado oil, coconut oil, or any neutral cooking spray
For the Cinnamon Roll Topping
- 113g salted butter — 1 stick or ½ cup
- 250g brown sugar — approximately ¾ cup, packed
- 6.5g ground cinnamon — approximately 2½ teaspoons
- 4g vanilla extract — approximately 1 teaspoon
For the Vanilla Glaze
- 120g powdered sugar — approximately 1 cup
- 4g vanilla extract — approximately 1 teaspoon
- 30 to 45g milk or cream — 2 to 3 tablespoons, adjusted for preferred consistency
The Most Important Tip in This Entire Recipe
Before anything else — before the mixing, before the stretch and folds, before the topping — understand this one principle: warmth controls everything in this recipe.
Sourdough fermentation is driven by temperature. A warm environment activates the wild yeast in the starter and speeds up fermentation dramatically. A cool environment slows everything down. In a cold kitchen, the dough might need 6 or 8 hours to bulk ferment properly. In a warm environment — 75°F to 80°F — it might be ready in 3.
The single best way to create that warm environment without a proofing box is to place the covered dough inside your oven with only the oven light turned on. The light generates enough gentle heat — typically around 75°F to 80°F — to significantly accelerate fermentation without overheating the dough.
An alternative method: preheat the oven to 170°F, then turn it off and prop the door open for several minutes to let it cool slightly before placing the dough inside. This creates an even warmer proofing environment and can be useful in particularly cold kitchens.
Always rely on visual cues and the poke test rather than the clock. Rise times are suggestions. The dough tells you when it is ready.
How to Make Sourdough Cinnamon Roll Focaccia — Step by Step
Step 1: Mix the Dough
In a large mixing bowl, combine the active sourdough starter and warm water. Whisk together until the starter is completely dissolved and no clumps remain. Add the salt and flour and mix together to form the dough.
The dough will be extremely wet, sticky, and shaggy at this stage. It will not come together into a clean ball. This is completely normal and is exactly what you want — high hydration is what creates the open, pillowy crumb that makes focaccia focaccia. Do not add more flour. Cover the bowl with a damp kitchen towel and allow it to rest for 30 minutes.
Step 2: Stretch and Fold
After the 30-minute rest, perform one set of stretch and folds. With slightly wet fingers to prevent sticking, grab one side of the dough and stretch it upward as far as it will go without tearing. Fold it into the centre. Rotate the bowl slightly and repeat on the next side. Continue rotating and folding until you have worked around the entire dough — approximately 8 to 10 folds in total. This constitutes one complete set.
This gentle manipulation builds gluten structure without aggressive kneading, which would deflate the air that fermentation is building. One set is all this recipe needs.
Step 3: Bulk Fermentation
Spray a second mixing bowl generously with cooking spray — the wet, sticky dough clings to ungreased surfaces and transfers far more easily from a greased bowl. Transfer the dough, cover with a damp kitchen towel, and place in the oven with only the oven light on.
Allow the dough to bulk ferment for approximately 3 hours, though this time can vary significantly. Check on it periodically. The dough is ready when it has grown by 50 to 75 percent in size and appears bubbly and slightly jiggly when the bowl is gently shaken.
To confirm readiness, perform the poke test. Wet a finger and gently poke the surface of the dough. If the indentation springs back slowly and leaves a slight dimple, the dough is ready. If it springs back immediately and completely, it needs more fermentation time. If it does not spring back at all and the indentation remains fully, the dough has over-fermented — proceed immediately to the next step.
Step 4: Transfer to the Baking Pan
Spray a 9×13 glass baking dish thoroughly with cooking spray, making sure to coat the sides all the way to the top rim — the cinnamon sugar topping will bubble up against the edges during baking and will stick to any ungreased surfaces. Transfer the dough to the prepared pan and perform one final set of stretch and folds, folding the dough in on itself within the pan.
At this point, you have two options. You can proceed directly to the second proof for a same-day bake, or cover the pan tightly and refrigerate overnight for a next-morning bake. The overnight refrigerator proof slows fermentation down dramatically and develops a noticeably deeper, more complex sourdough flavour in the finished bread. If you have the time, the overnight option is worth choosing.
Step 5: Second Proof
Cover the pan with a damp kitchen towel and return it to the oven with the light on. Allow the dough to proof for approximately 1 hour, or until it has nearly doubled in size and expanded to nearly reach the edges of the pan. The surface should look pillowy, bubbly, and visibly puffed.
If you used the overnight refrigerator option, remove the pan from the fridge and allow it to come to room temperature before beginning the second proof. The dough will need additional time to proof since it has been chilled — allow up to 2 to 3 hours if needed and always rely on visual cues.
Step 6: Make the Cinnamon Roll Topping
While the dough completes its second proof, prepare the cinnamon topping. In a small saucepan over medium heat, melt the butter completely. Add the brown sugar, cinnamon, and vanilla extract and whisk everything together.
Remove the pan from the heat the moment all the ingredients are fully melted and combined. This is the most critical moment in the topping preparation. If the mixture continues to cook even briefly after everything has dissolved, the sugar will begin to caramelize and harden, resulting in a topping that sets into a brittle, hard shell rather than the soft, gooey cinnamon layer you are aiming for. Remove it from the heat promptly and let it sit while you prepare the oven.
Preheat the oven to 425°F (220°C).
Step 7: Dimple the Dough and Bake
Once the oven is preheated, remove the dough pan from the warm oven. With wet fingers, poke the dough all over to create the signature focaccia dimples. Press firmly and gently to push the dough all the way to the edges and corners of the pan. The surface should look deeply textured and dimpled.
Pour the cinnamon topping evenly across the entire surface of the dough. Make sure the topping reaches the edges and fills all the dimples.
Bake at 425°F for 25 to 30 minutes until the focaccia is deeply golden brown on top and the cinnamon sugar is bubbling dramatically around the edges. Check at the 25-minute mark. If the surface bubbles are beginning to char before the bread is fully baked, tent loosely with aluminium foil and continue.
A metal baking pan will conduct heat more aggressively than glass and may require a slightly lower temperature or reduced baking time — check at 20 minutes if using metal.
Step 8: Make the Glaze and Serve
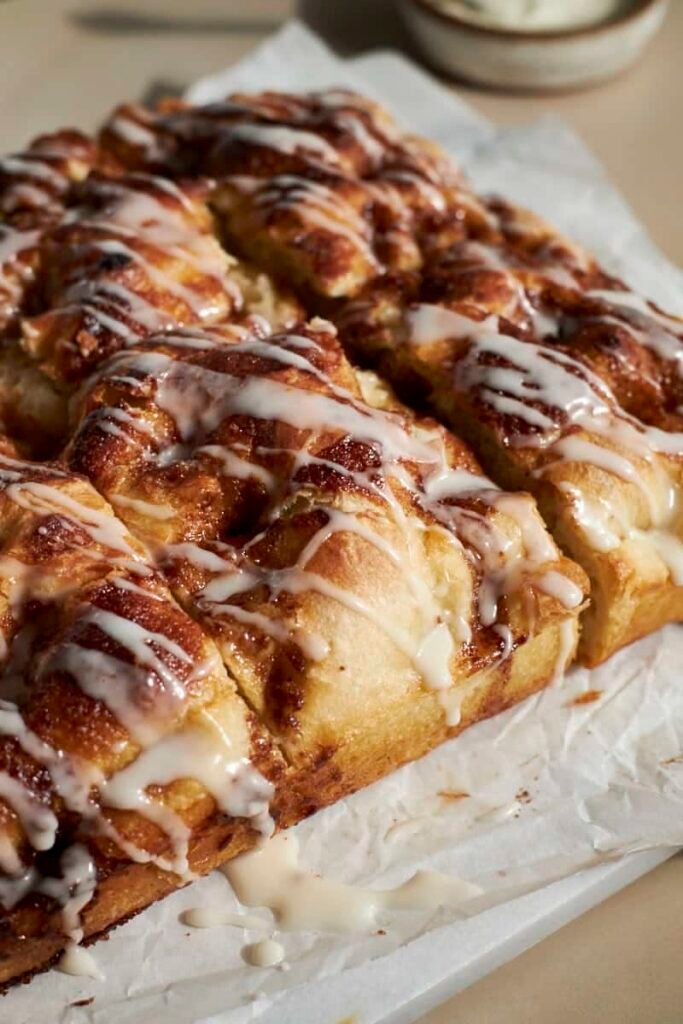
While the focaccia cools slightly in the pan, mix together the glaze. Combine the powdered sugar and vanilla extract in a small bowl. Add the milk or cream a little at a time, whisking after each addition, until you reach your preferred consistency. For a thicker, more icing-like glaze, use less liquid. For a thinner, pourable glaze that runs into every dimple, use a little more.
Drizzle the glaze generously over the slightly cooled focaccia. Slice into pieces and serve warm. The glaze will continue to set as the focaccia cools.
The Poke Test — What You Are Actually Looking For
The poke test is the most reliable way to judge fermentation readiness and it is simpler than most beginners expect. Wet a finger with cold water and poke the surface of the dough firmly to a depth of about half an inch.
Three possible outcomes: if the dough springs back quickly and completely within a second, fermentation is not yet complete and the dough needs more time. If the dough springs back slowly over 2 to 4 seconds and leaves a faint indentation, fermentation is at the ideal stage and the dough is ready to proceed. If the dough does not spring back at all and the indentation remains, the dough has been over-fermented and should be moved to the next step immediately.
Learning to read the poke test is one of the most valuable skills in sourdough baking and becomes instinctive with practice.
Variations Worth Trying
Apple Fritter Focaccia — Reduce the cinnamon topping slightly and add a layer of thinly sliced sautéed apples seasoned with brown sugar and cinnamon on top of the dimpled dough before pouring the topping over. A cider glaze instead of vanilla makes it feel like a proper apple fritter.
Walnut Cinnamon Focaccia — Add ½ cup of roughly chopped toasted walnuts to the cinnamon topping before pouring it over the dough. The walnuts toast further in the oven and add a nutty crunch that contrasts the soft bread beautifully.
Cream Cheese Glaze — Beat 60g of softened cream cheese with the powdered sugar and vanilla before thinning with cream. The tangy, thick cream cheese glaze is a direct callback to classic cinnamon roll frosting and is exceptional on this focaccia.
Orange Zest Glaze — Add the zest of one large orange to the standard vanilla glaze. The citrus cuts the richness of the cinnamon topping and brings a bright freshness that makes the whole dish feel lighter.
Cardamom Brown Sugar Focaccia — Add ½ teaspoon of ground cardamom to the cinnamon topping. Cardamom adds an aromatic, slightly floral warmth that works brilliantly with brown sugar and pairs especially well with a cup of strong coffee.
Frequently Asked Questions
Does the dough have to be this sticky and wet?
Yes. The high hydration — more water relative to flour than most bread recipes — is what produces the open, pillowy crumb structure that makes focaccia so distinctively soft. A drier dough would produce a denser, tighter crumb. The stickiness is a feature, not a flaw. Greased hands and surfaces manage it easily.
Can I use sourdough discard instead of active starter?
The recipe specifically calls for active, bubbly starter at peak rise because it is the only leavening agent — there is no commercial yeast to compensate. Discard does not have enough active wild yeast to leaven a dough this size reliably. If you only have discard available, add ½ teaspoon of instant yeast to the dough to provide supplemental lift.
Can I halve this recipe?
Yes — halve all ingredient quantities and bake in an 8×8 inch baking pan. Baking time may be slightly shorter, so begin checking for doneness at the 20-minute mark.
Can I use a metal baking pan instead of glass?
Yes, but with adjustments. Metal conducts heat more efficiently than glass and the focaccia may bake faster and brown more quickly on the bottom. Begin checking for doneness at 20 minutes and consider reducing the oven temperature by 10 to 15 degrees. Some bakers also report that parchment paper lining helps with even browning and prevents sticking when using metal pans.
What if my kitchen is very cold?
In a cold kitchen below 68°F, fermentation will slow significantly and the times in the schedule will extend considerably. Use the oven light method diligently — it is specifically designed to overcome cold kitchen conditions. In very cold environments, some bakers preheat the oven briefly to 170°F, turn it off, and allow the door to stay propped open for a few minutes before placing the dough inside, creating a warmer starting temperature than the oven light alone can achieve.
Final Thoughts
Sourdough Cinnamon Roll Focaccia exists at the intersection of two great things. The deep, satisfying flavour of a properly fermented sourdough and the warm, caramelized indulgence of a cinnamon roll — wrapped into a recipe that is genuinely approachable for anyone willing to feed their starter and follow the process.
It is the recipe that turns a jar of sourdough starter from an obligation into an opportunity. It is what you make on the morning you have extra active starter and nowhere to be. It is what you bring to brunch and watch disappear in eleven minutes.
Same day. No yeast. One pan. Worth every hour of the wait.
RECIPE CARD:
- Prep Time: 30 minutes
- Fermentation Time: 4 hours (bulk) + 1 hour (second proof)
- Bake Time: 30 minutes
- Total Time: approximately 10 hours same-day (including starter feeding)
- Servings: 12
- Calories: 390 kcal per serving
- Cuisine: American
- Course: Breakfast, Brunch, Dessert
- Diet: Vegetarian, Dairy-Free adaptable