
There is a very short list of things in this world that are genuinely universally loved. A warm chocolate chip cookie, fresh from the oven, with the chocolate still melted and the edges just barely golden — that is on that list.
Not the ones from a tube. Not the ones from a box. The real ones. Made in your kitchen, from scratch, with butter and brown sugar and chocolate that pools into puddles rather than neat little chips.
This recipe produces exactly that cookie. The one with crispy, caramelized edges and a centre that stays soft and chewy for days. The one that makes your entire home smell like the best version of itself. The one that disappears from the cooling rack before it has properly cooled.
This is that recipe. And once you make it, every other version feels like a compromise.

The Science Behind the Perfect Cookie
Before the ingredients, a brief word on why certain things work the way they do — because understanding this makes you a better baker and helps you troubleshoot when things go slightly wrong.
Brown sugar vs white sugar: Brown sugar contains molasses, which is hygroscopic — meaning it attracts and holds moisture. This is what makes cookies chewy. White sugar spreads more and creates crispness. Using both together gives you the best of both worlds: crispy edges, chewy centre.
Room temperature eggs: Cold eggs do not incorporate into butter as smoothly, which can cause the dough to look curdled and produce uneven texture. Room temperature eggs emulsify properly and create a more cohesive dough.
Baking soda vs baking powder: Baking soda needs an acid to activate — in this case, the brown sugar and vanilla provide it. Baking soda produces a chewier, slightly denser cookie. Baking powder produces a cakier one. This recipe uses baking soda.
Chilling the dough: This is the single most impactful thing you can do for flavour. Resting the dough in the fridge allows the flour to hydrate fully, the sugars to concentrate, and a process called enzymatic browning to begin — all of which produce a cookie with dramatically more depth and complexity than dough baked immediately.
Ingredients
- 2¼ cups all-purpose flour
- 1 cup unsalted butter, softened to room temperature
- ¾ cup granulated white sugar
- ¾ cup brown sugar, firmly packed
- 2 large eggs, room temperature
- 2 tsp vanilla extract
- 1 tsp baking soda
- 1 tsp salt
- 2 cups semi-sweet chocolate chips or chopped chocolate
- Flaky sea salt for finishing (optional but highly recommended)
One Upgrade That Changes Everything: Brown Butter
Before you begin, consider this optional step that costs two extra minutes and adds an enormous amount of flavour.
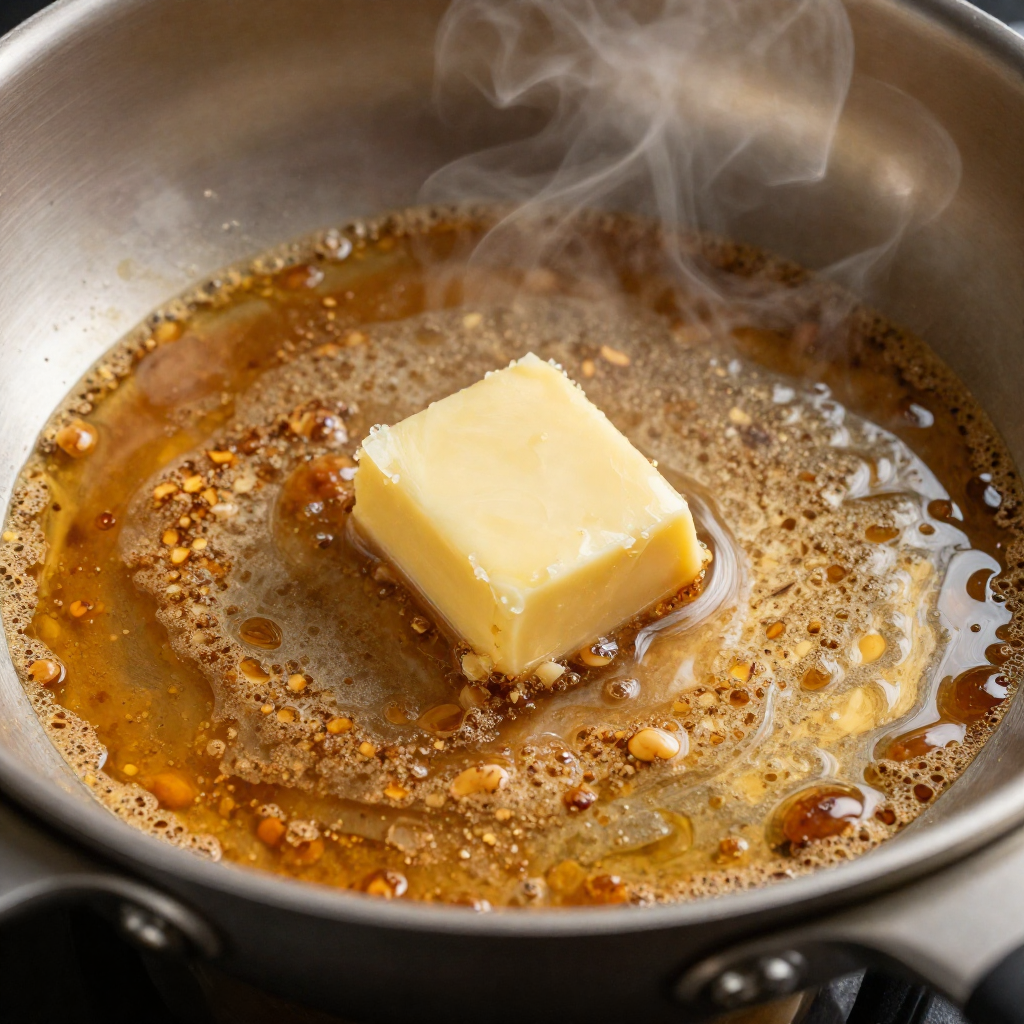
Instead of using softened butter straight from the fridge, brown it first. Place the butter in a light-coloured saucepan over medium heat. Let it melt, then continue cooking, stirring occasionally, for 3 to 4 minutes. The butter will foam, then the foam will subside, and small golden-brown specks will begin to appear at the bottom of the pan along with a nutty, caramel-like aroma. That is browned butter.
Pour it immediately into your mixing bowl and let it cool to room temperature before proceeding. The Maillard reaction happening in that pan creates hundreds of new flavour compounds that make the finished cookies taste deeper, nuttier, and more complex than anything soft butter alone can produce.
It is not required. But it is transformative.
How to Make Chocolate Chip Cookies — Step by Step
Step 1: Cream the Butter and Sugar
Preheat your oven to 375°F (190°C) and line your baking sheets with parchment paper. In a large bowl, beat the softened butter with both sugars using an electric mixer on medium-high speed for 3 to 4 minutes. Do not rush this step. Proper creaming incorporates air into the mixture, which gives the cookies lift and a lighter texture. The mixture should look pale, fluffy, and almost doubled in volume.
Step 2: Add Eggs and Vanilla
Add the eggs one at a time, beating well after each addition. Add the vanilla extract and mix just until combined. Do not over-beat once the eggs are in — you want to incorporate them without developing too much gluten or adding excess air that will cause the cookies to puff up and then collapse flat.
Step 3: Add the Dry Ingredients
In a separate bowl, whisk together the flour, baking soda, and salt. Add this to the butter mixture in two additions, folding gently with a spatula until just combined. Stop the moment you no longer see dry streaks of flour. Over-mixing at this stage activates the gluten in the flour, turning your cookies tough and dense rather than tender and chewy.
Step 4: Fold in the Chocolate
Add the chocolate chips or chopped chocolate and fold them in with a spatula. If you are using a chopped chocolate bar rather than chips, the irregular pieces create something special in the baked cookie — some pieces melt into thin shards, some stay chunky, and some create those gorgeous irregular pools of chocolate that chips simply cannot replicate.
Step 5: Chill the Dough
Cover the bowl tightly with plastic wrap and place it in the refrigerator. This is non-negotiable if you want the best possible cookie.
At a minimum, chill for 30 minutes. For noticeably better results, chill for 24 hours. For the absolute best possible flavour — deeper, more toffee-like, with a more pronounced complexity — chill for 48 to 72 hours.
The cookies will spread less, taste better, and have a superior texture the longer the dough rests. Plan ahead. It is worth it.
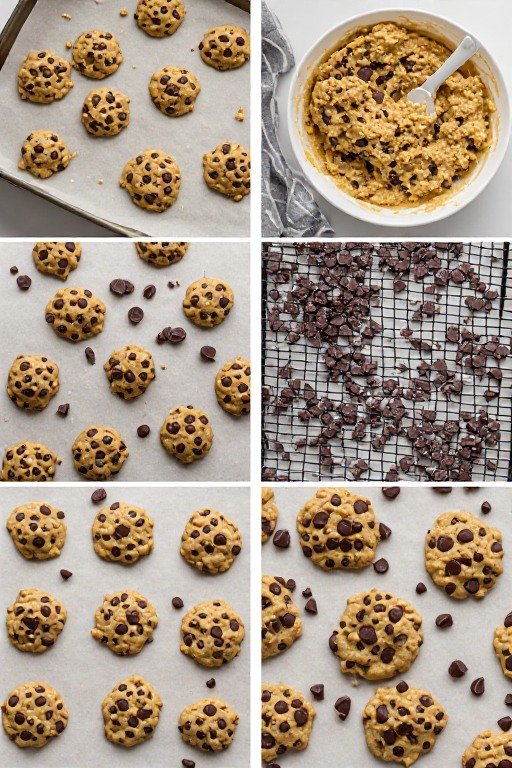
Step 6: Portion and Bake
Remove the dough from the fridge. Using a tablespoon or cookie scoop, portion the dough into balls approximately 2 tablespoons in size. Place them on the prepared baking sheets, spaced at least 2 inches apart — they will spread as they bake.
If you are using flaky sea salt, sprinkle a small pinch on top of each dough ball before it goes in the oven. The salt enhances the chocolate flavour and creates a sweet-salty contrast that elevates the entire cookie.
Bake for 10 to 12 minutes. The edges should be golden and set. The centres should look slightly underdone and soft — almost alarmingly so. This is correct. Do not bake until the centres look done, because carry-over heat from the hot baking sheet will continue cooking them for several minutes after they leave the oven.
Step 7: Cool (If You Can Wait)
Remove the baking sheet from the oven and leave the cookies on it for exactly 5 minutes before transferring to a wire rack. This resting time allows the structure to set from the residual heat of the pan. Move them too soon and they will fall apart. Leave them too long and the bottoms will over-brown.
After 5 minutes, transfer to a wire rack. They are ready to eat warm, when the chocolate is still molten. Or you can wait until they are fully cooled, when the chewy texture fully develops. Both are correct choices.
The Texture Guide: What Kind of Cookie Do You Want?
Not everyone wants the same cookie. Here is how to adjust this recipe for your preferred result:
For thicker, puffier cookies: Use cold butter instead of softened, add an extra 2 tbsp of flour, and use bread flour instead of all-purpose for extra chew.
For thinner, crispier cookies: Melt the butter completely before mixing. Use more white sugar than brown. Press the dough balls slightly flat before baking.
For ultra-chewy cookies: Add one extra egg yolk (without the white) to increase fat and richness. Use all brown sugar instead of the white-brown combination.
For bakery-style giant cookies: Use ¼ cup of dough per cookie. Space them very far apart. Bake at 360°F for 14 to 16 minutes.
Chocolate: Chips vs Chopped Bar
This deserves its own section because the difference is real and significant.
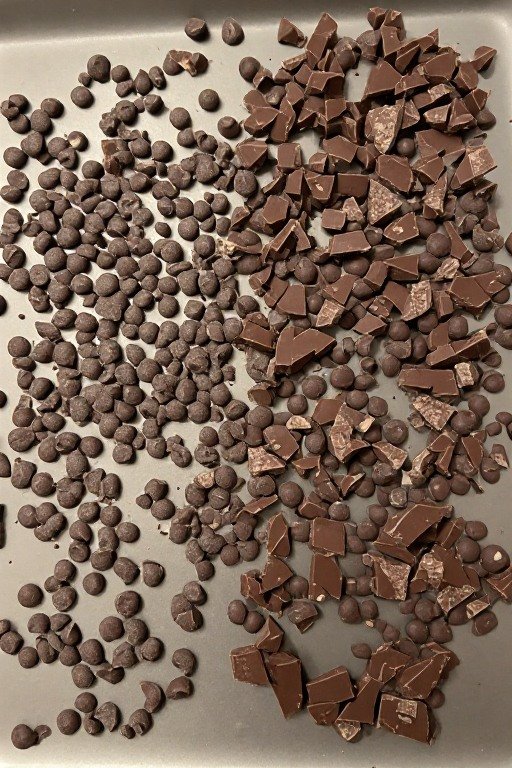
Chocolate chips are engineered to hold their shape during baking. They contain stabilizers that prevent them from fully melting. This gives you neat little chocolate dots in a finished cookie — which is fine, but nothing extraordinary.
A good quality chocolate bar — semi-sweet or bittersweet, 60% cocoa or higher — chopped roughly into irregular pieces behaves completely differently in the oven. The thin shards melt into the surrounding dough. The larger chunks stay slightly firm. The medium pieces create puddles. The result is a cookie with genuine chocolate texture variation in every bite, rather than a uniform distribution of preserved chips.
Use a combination if you like — chips for the base and a roughly chopped bar pressed into the tops before baking. This gives you both the even distribution and the dramatic visible pools.
How to Store Chocolate Chip Cookies
Baked cookies: Store in an airtight container at room temperature for up to 5 days. Place a piece of bread in the container — the cookies will absorb moisture from the bread and stay soft longer.
Unbaked dough: Store in the fridge for up to 4 days or freeze pre-portioned dough balls for up to 3 months. Bake directly from frozen — add 2 to 3 extra minutes to the baking time.
Reheating: Microwave a single cookie for 10 to 15 seconds to restore that fresh-from-the-oven warmth and softness.
Frequently Asked Questions
Why do my chocolate chip cookies come out flat?
The most common reason is butter that is too soft or partially melted before creaming. The butter should be softened — meaning it holds an indent when pressed — but not shiny, greasy, or melted. Dough that is not chilled before baking also spreads excessively.
Can I freeze chocolate chip cookie dough?
Yes — this is one of the best things you can do. Portion the dough into balls, freeze them on a baking sheet until solid, then transfer to a zip-lock bag. They keep for up to 3 months. Bake from frozen at the same temperature, adding 2 to 3 minutes to the baking time.
What is the best chocolate to use for chocolate chip cookies?
For maximum flavour, use a good quality semi-sweet or bittersweet chocolate bar chopped by hand — 60% cocoa content or higher. If using chips, choose a premium brand. The quality of the chocolate is directly proportional to the quality of the finished cookie.
Can I make these cookies without a mixer?
Yes. If your butter is properly softened, you can cream it with sugars by hand using a wooden spoon or rubber spatula. It will take more effort — about 5 minutes of vigorous mixing — but it works perfectly well.
Why do bakery cookies taste better than homemade?
Usually because of three things: higher quality chocolate, significantly more salt, and dough that has been rested for 24 to 72 hours. This recipe addresses all three.
Final Thoughts
A perfect chocolate chip cookie is one of baking’s greatest achievements — and also one of its most democratic ones. You do not need professional equipment, exotic ingredients, or years of experience. You need good butter, good chocolate, patience with the chill time, and the discipline to pull them from the oven before they look completely done.
Do those four things and the result is a cookie that is genuinely hard to improve upon. Crispy where it should be crispy. Chewy where it should be chewy. Packed with chocolate in every bite. Finished with a whisper of flaky salt that makes the whole thing taste more like itself.
Make a double batch. You will not regret it.
RECIPE CARD:
- Prep Time: 15 minutes
- Chill Time: 30 minutes minimum (24 to 72 hours recommended)
- Bake Time: 12 minutes
- Total Time: 1 hour (or overnight)
- Servings: 24 cookies
- Calories: ~210 per cookie
- Cuisine: American
- Course: Dessert, Snack, Baking
- Diet: Vegetarian